将 Okta 配置为身份提供商
登录到您的 Okta 域。
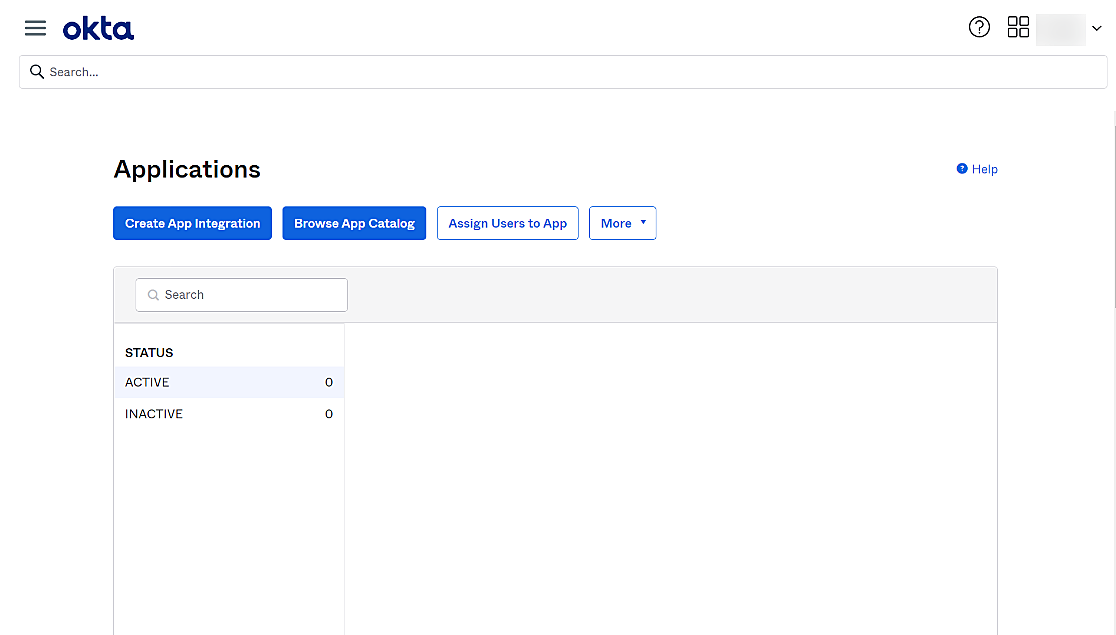
转到 application > 创建应用集成。
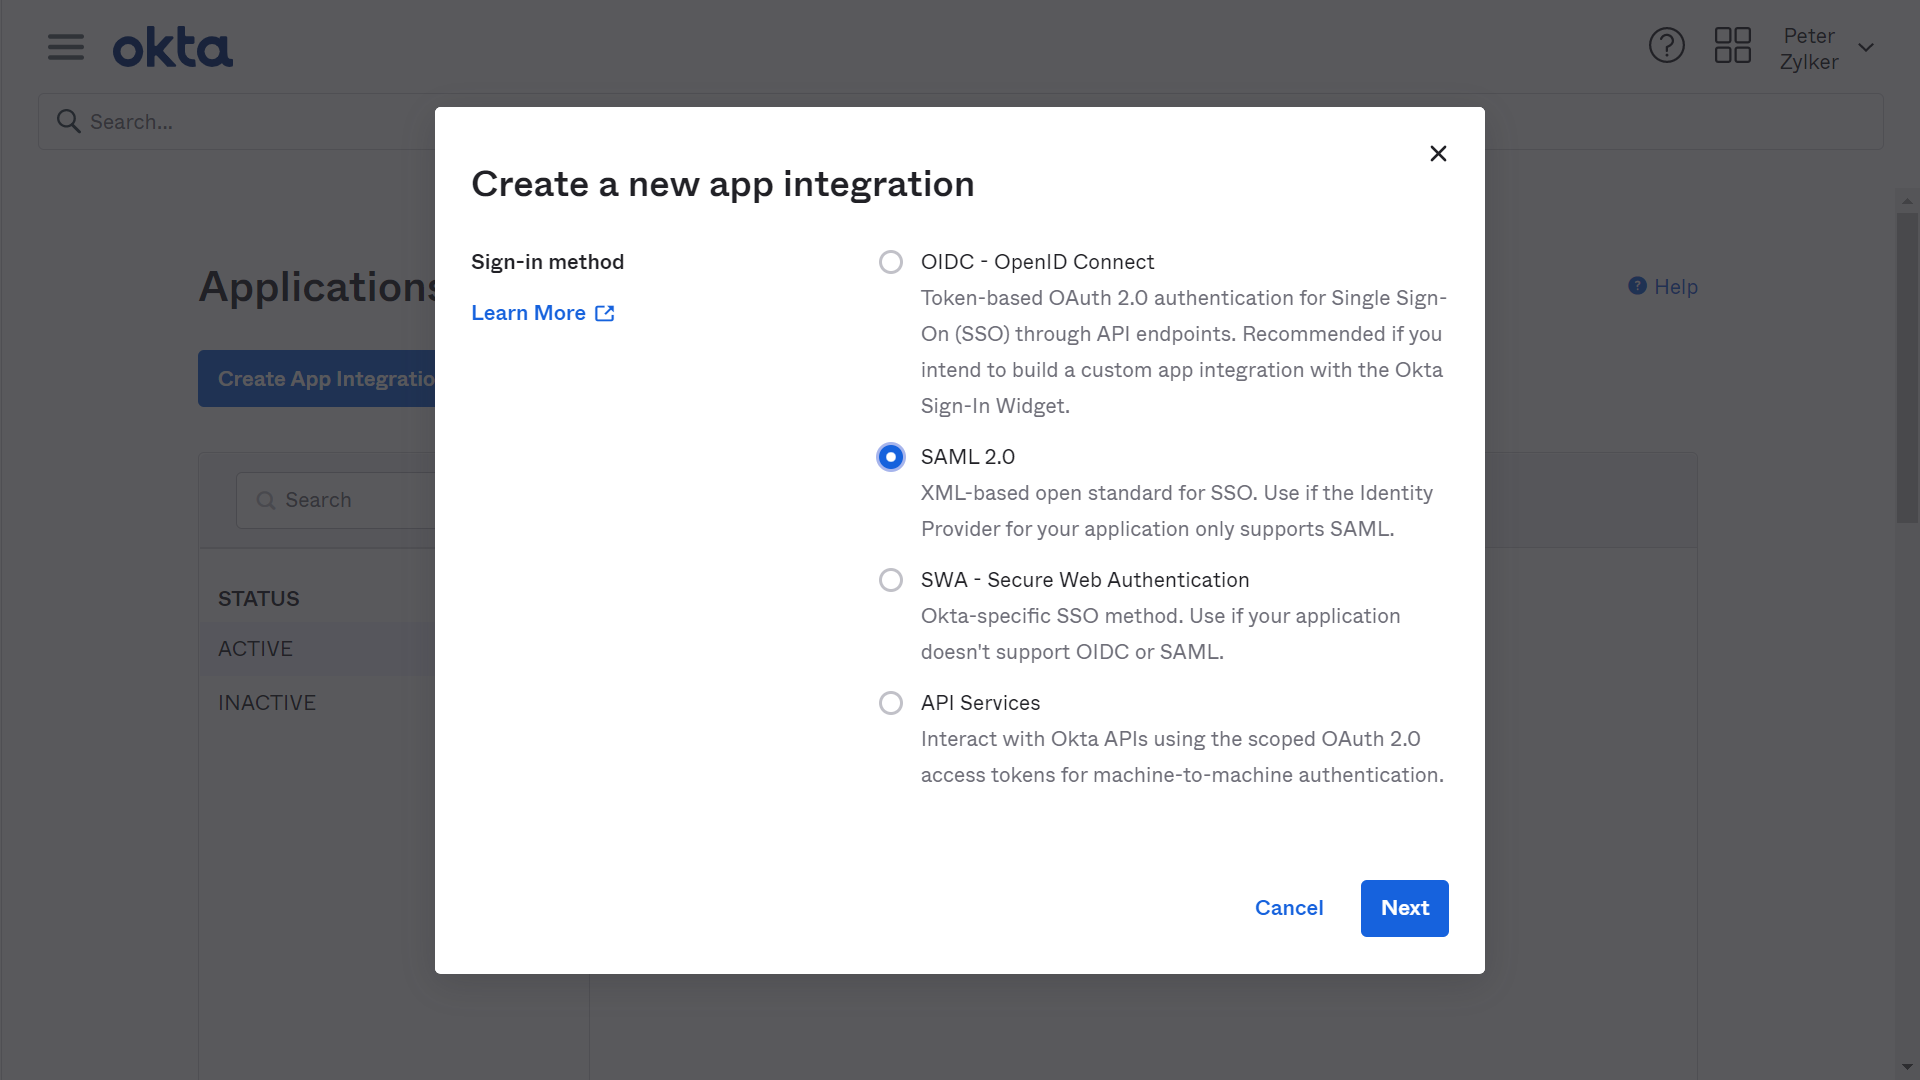
在显示的对话框中,选择 SAML 2.0 作为登录方法。
单击 下一步。
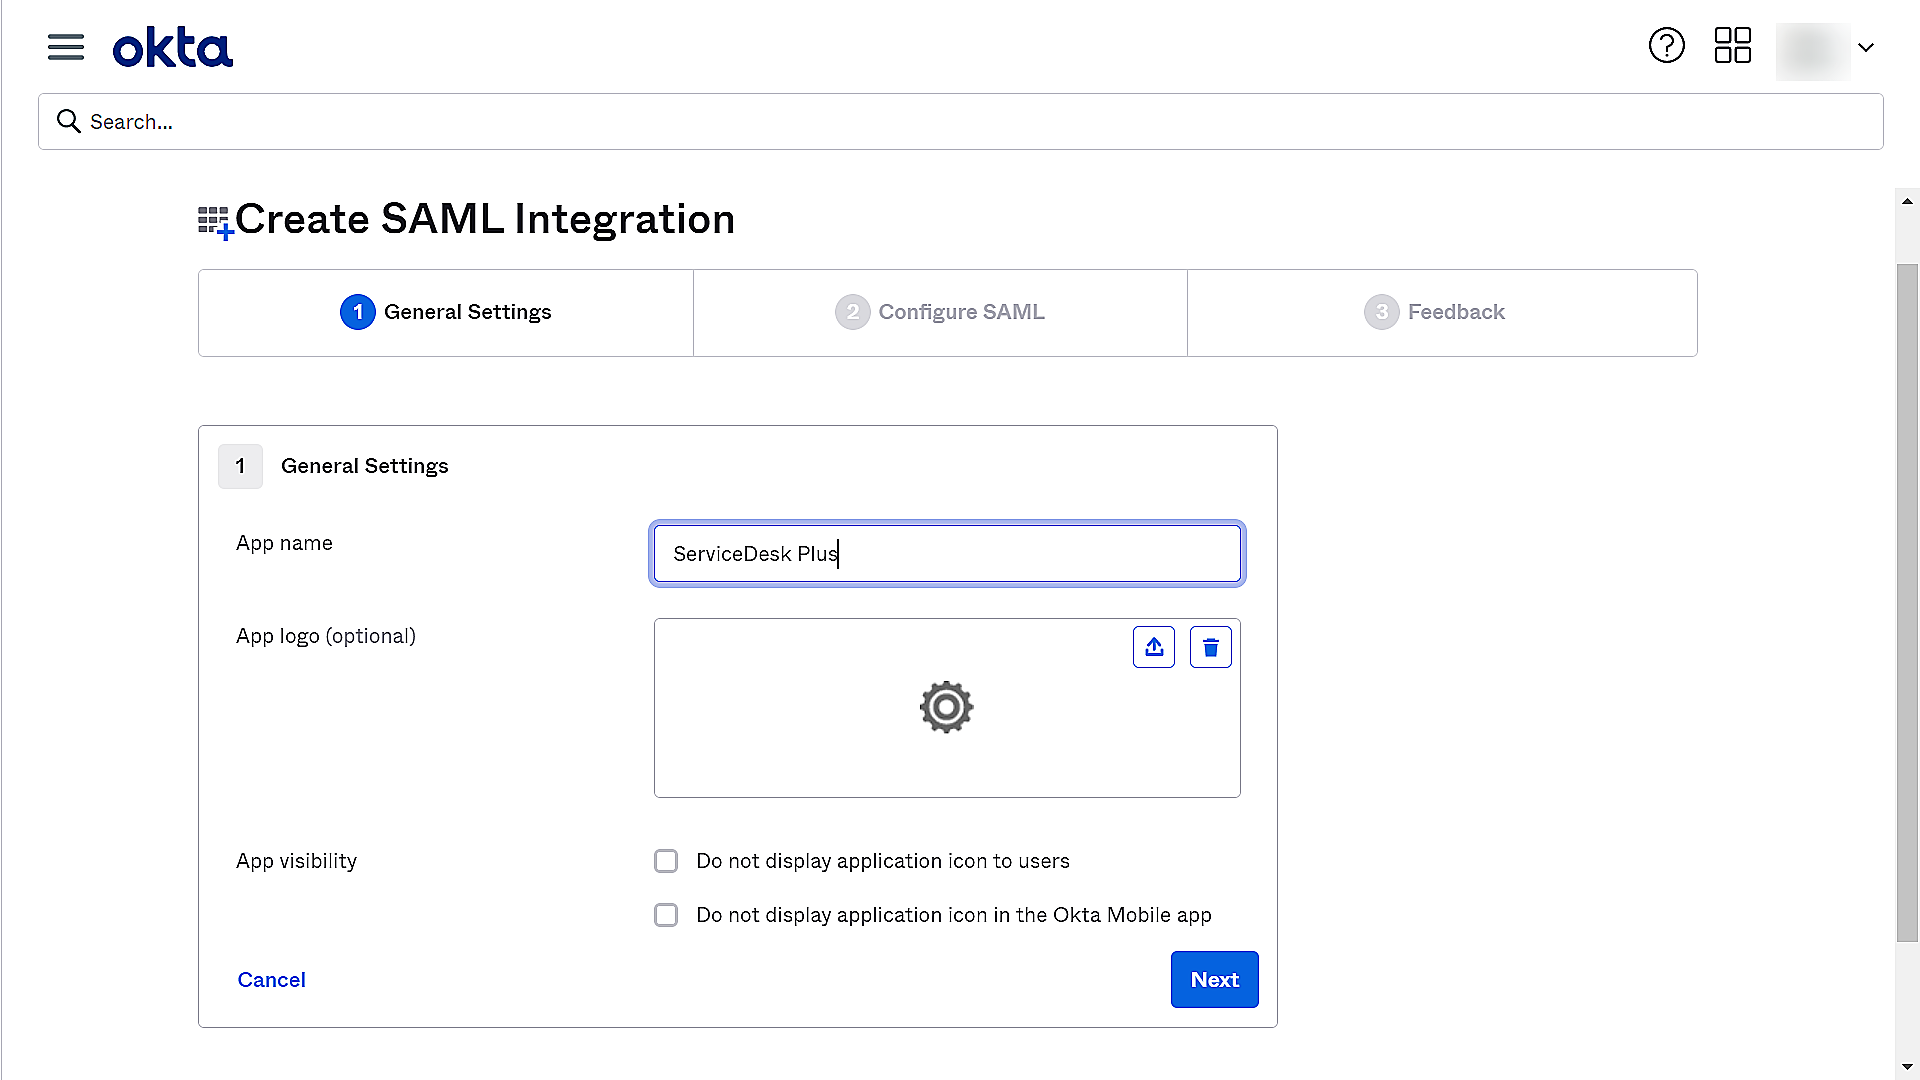
为您的应用程序提供一个名称。
上传应用程序的徽标,然后单击 下一步。
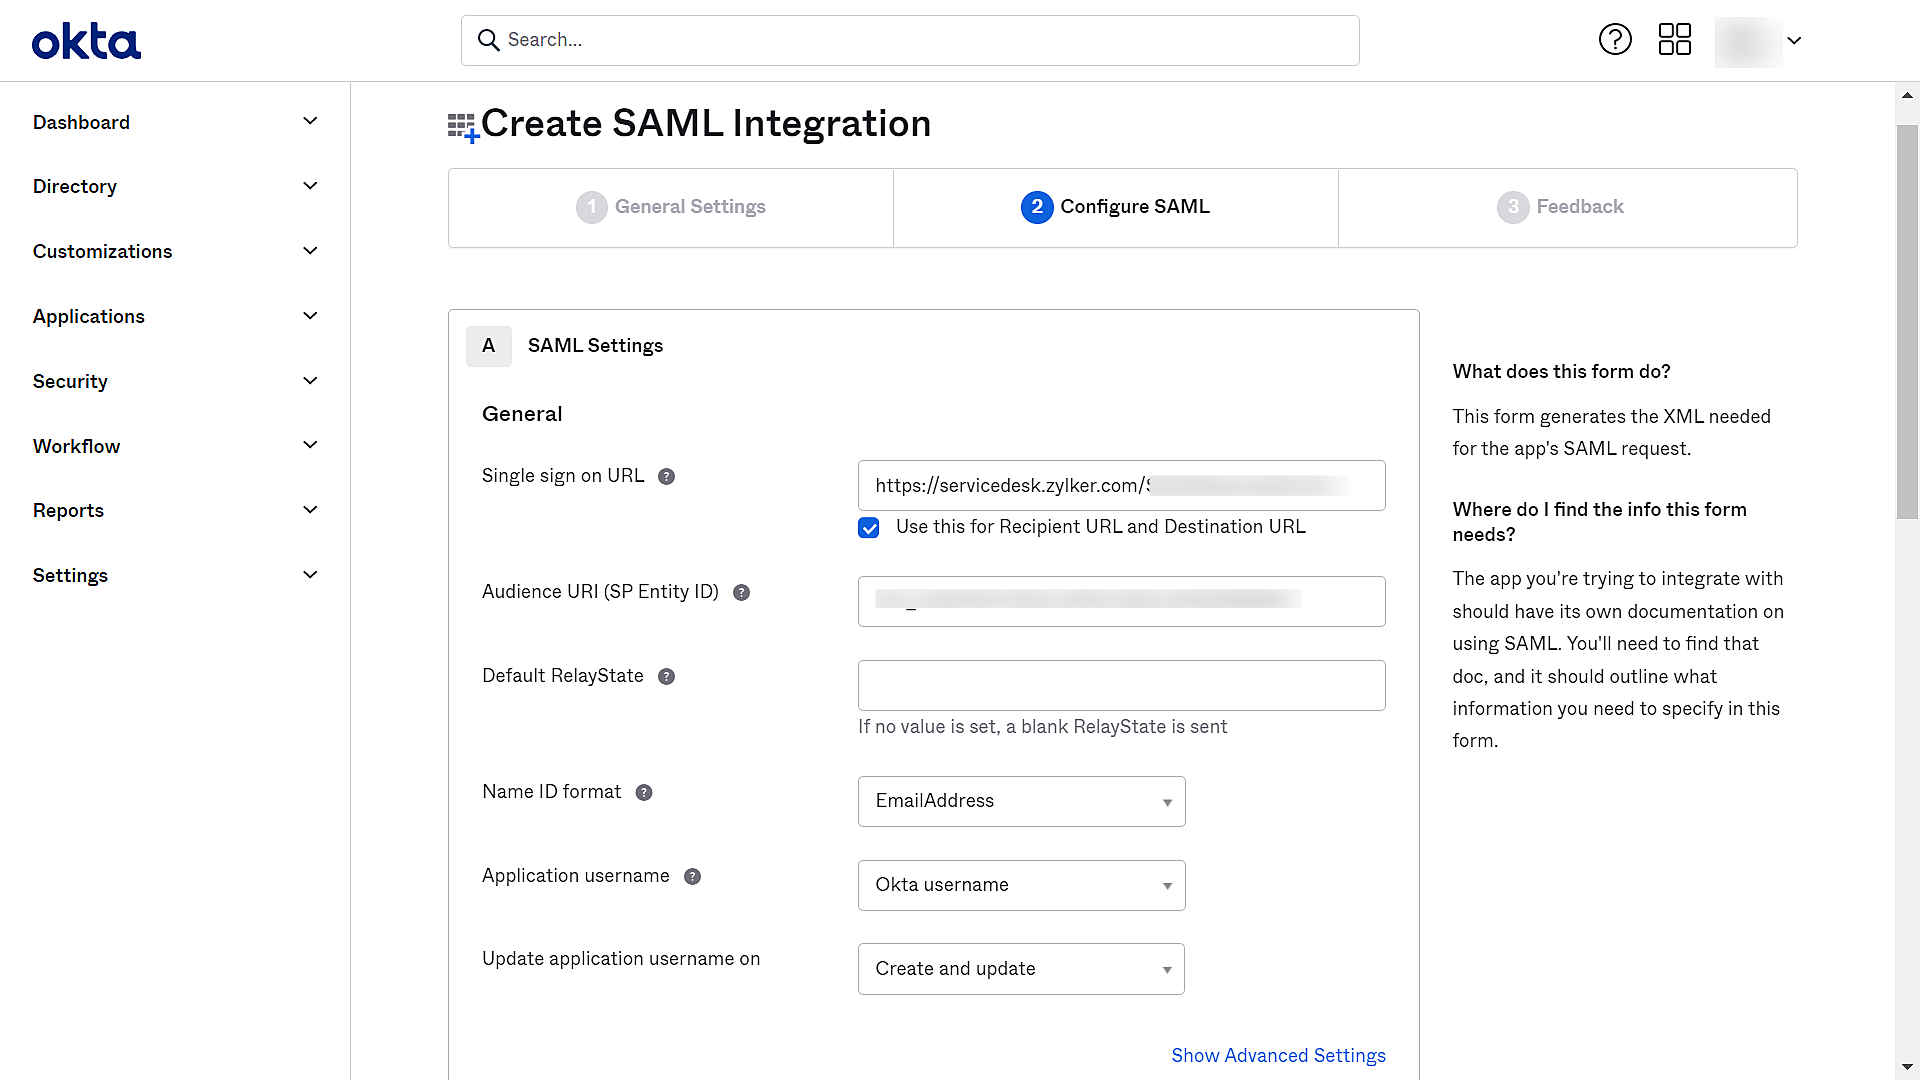
在显示的页面中,在 Single Sign-On URL 下输入 ServiceDesk Plus 的 Assertion Consumer URL。
在 Audience URI 字段中输入实体 ID,并选择所需的 Name ID format。目前,ServiceDesk Plus 支持 Transient、Persistent、Email Address 和 Unspecified 这几种 Name ID 格式。
- Transient 或 Persistent - 使用用户名和域进行登录。
- Email Address - 使用电子邮件地址登录。
- Unspecified - 使用从 AD 导入的 UPN 登录。
- 根据所选的 Name ID 格式,从下拉菜单中选择应用程序用户名。系统将根据此处配置的值,在应用程序中匹配或添加用户。
如果用户属于某个域,Okta 必须以 <domain name\user name> 格式返回包含域名的用户名。
如果不满足这些条件,可能会导致重复添加用户。
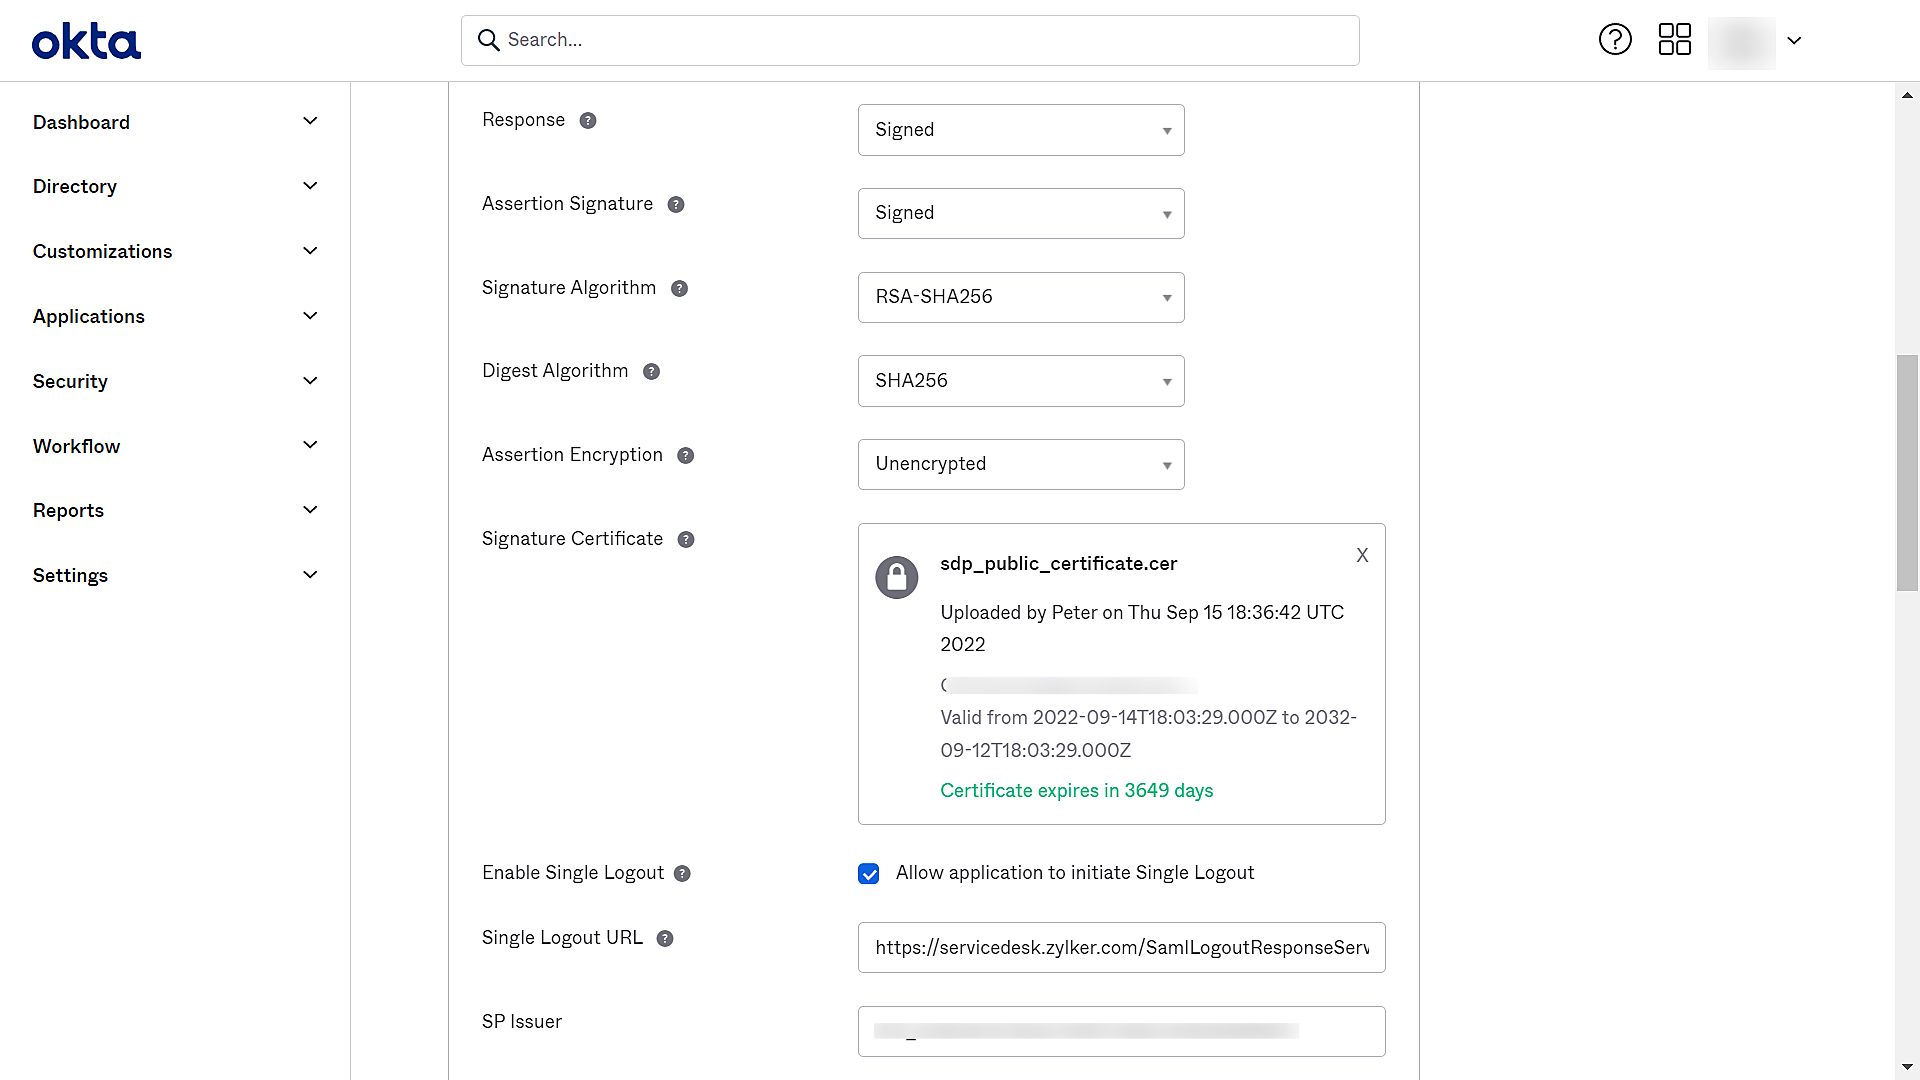
单击 Advanced Settings。
要启用 SAML 注销服务,请在 Signature Certificate field 中单击 Browse 并上传 SP(ServiceDesk Plus)证书。
选择 Allow the application to initiate Single Logout。
提供 Single Logout URL,并在 SP Issuer 中添加实体 ID。
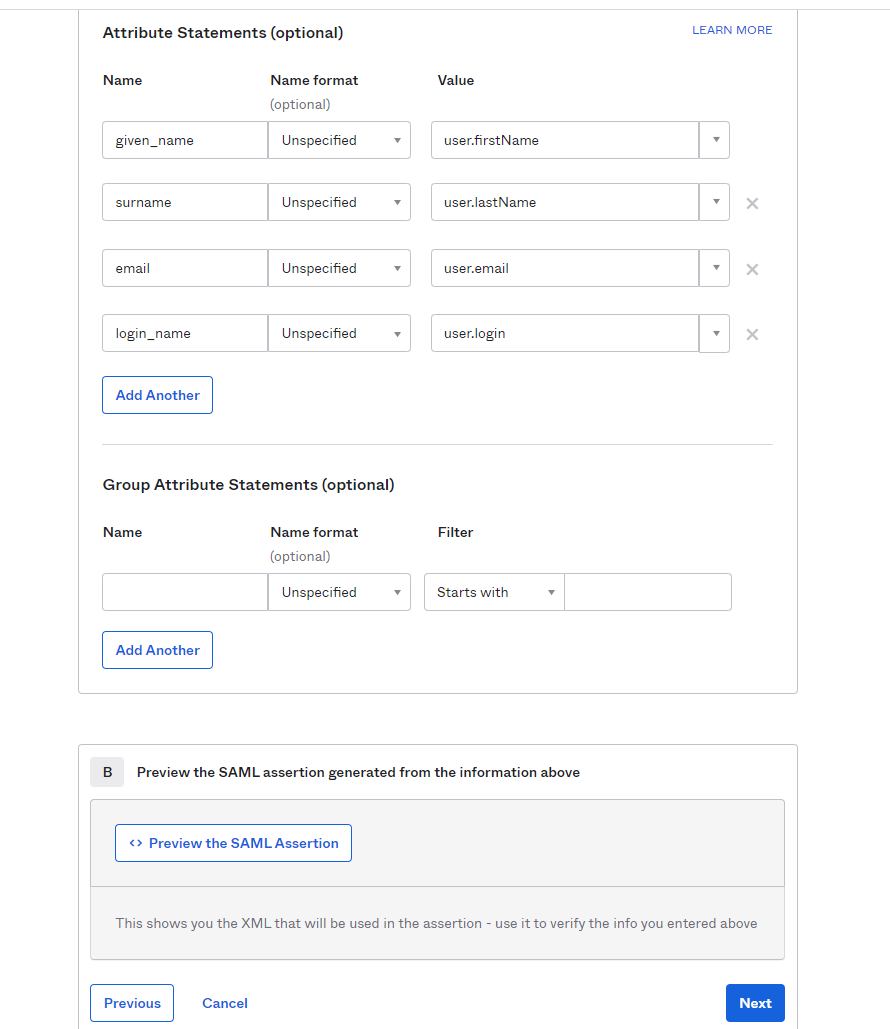
- 在 Attribute Statements. 下添加其他属性。这些属性由 SP 用于为动态用户创建完整的个人资料。
添加属性声明
单击 Add。
在 Name 字段中提供名称或键入 URI。
选择 Name format。
提供相关值。
单击 Add Another 以添加另一个属性,或单击 Next。
在显示的页面中,
选择 I'm an Okta customer adding an internal app。
选择 This is an internal app that we have created。
单击 Finish。
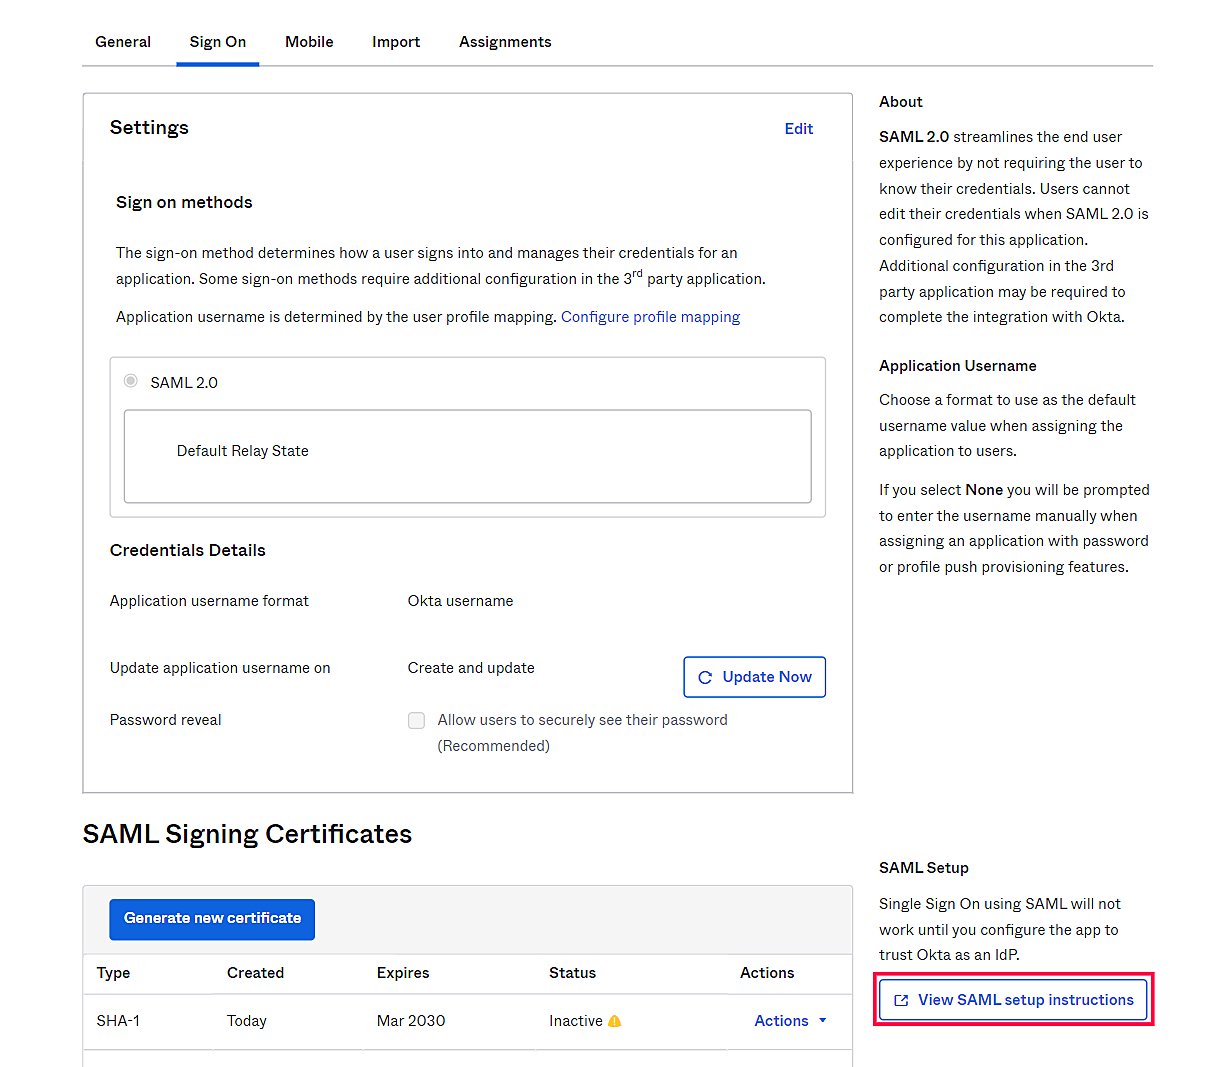
现在,您已将 ServiceDesk Plus 配置为一个application。

转到 Sign On 选项卡,然后单击 View SAML setup instructions。
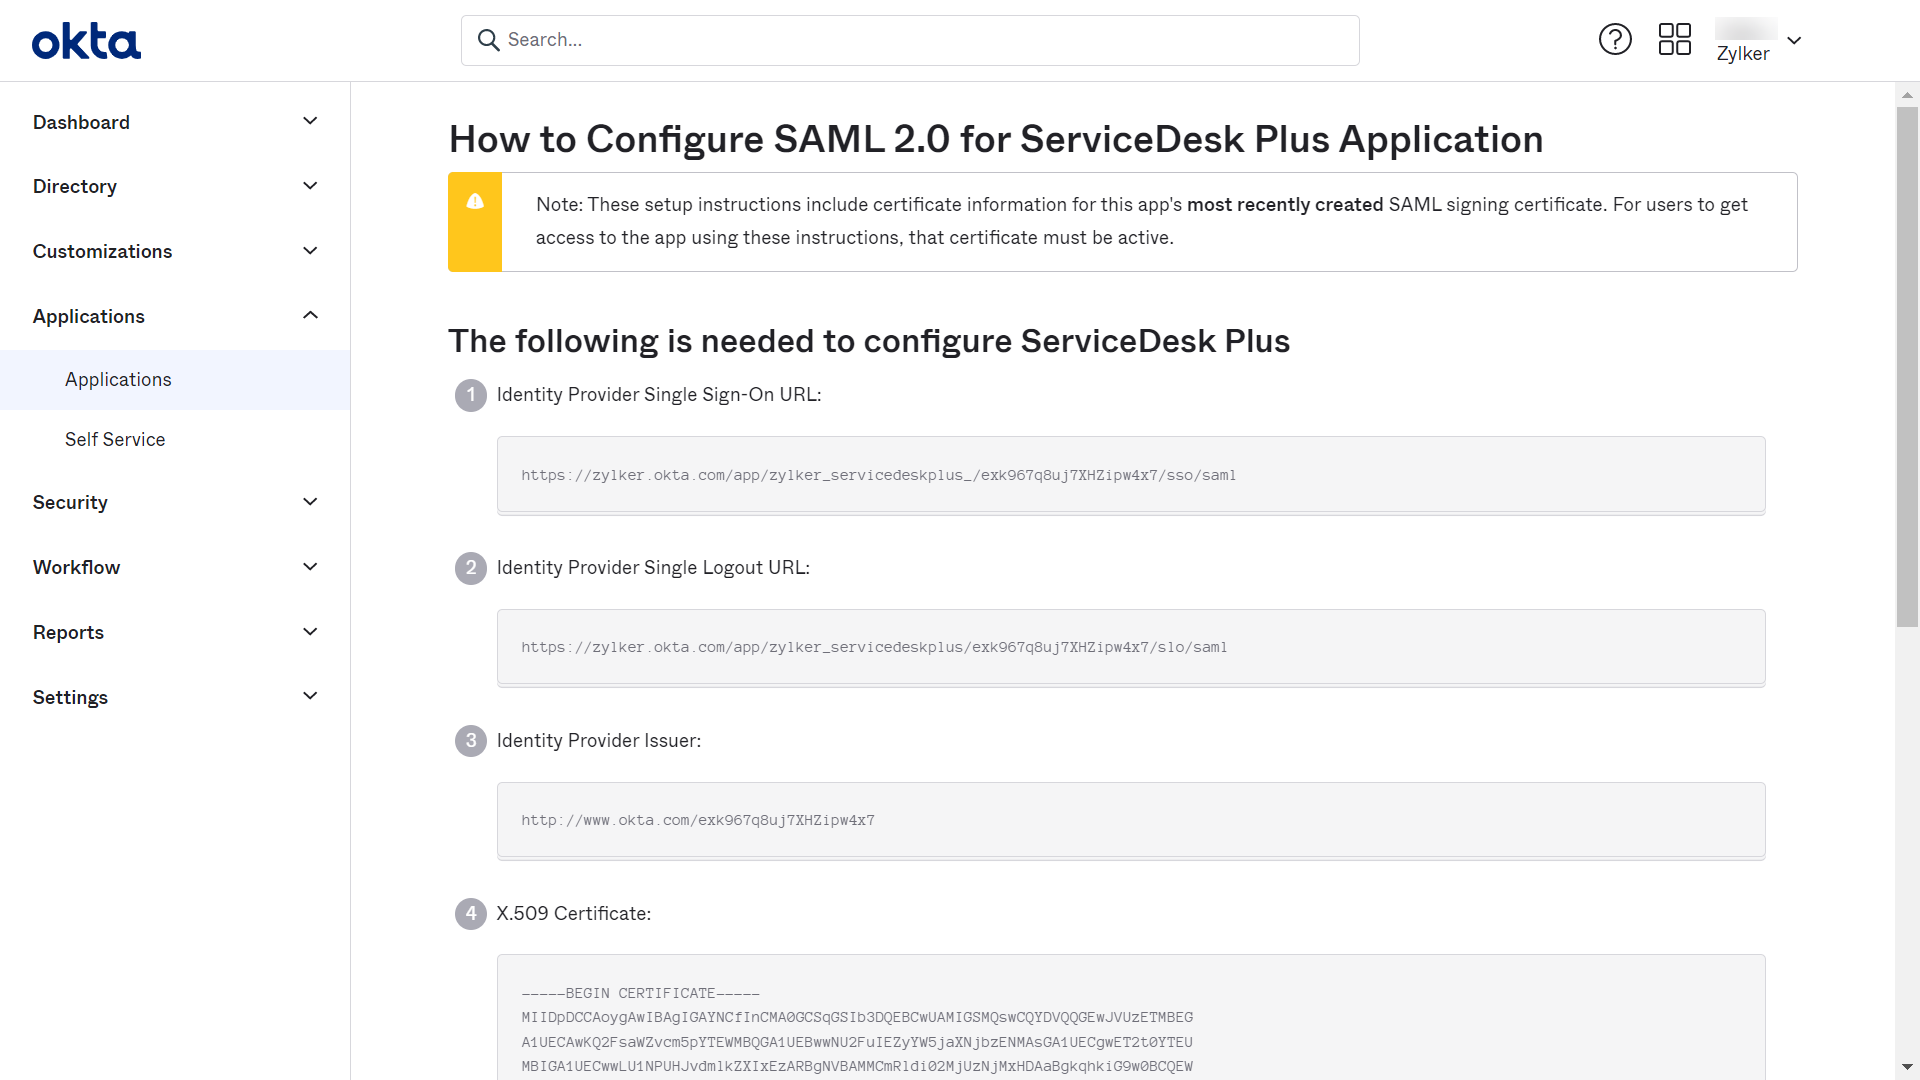
将显示另一个选项卡,其中包含 IdP 配置,例如 Login URL(Single Sign-On URL)、Logout URL(Single Logout URL)以及证书文件。请在 ServiceDesk Plus 中使用这些详细信息与 IdP 集成。

从 Assignments 选项卡中将该application分配给人员/组。
您现在已在 Okta 中将 ServiceDesk Plus 配置为服务提供商。
转到 ServiceDesk Plus 中的 SAML 配置页面,并提供 IdP 详细信息以完成集成。